Skip to content
Back to home

Jeff Does Doors / Services

Barn doors, from idea to detail.

Start with the barn-style door you have in mind. Explore the four project options, then confirm the specific scope with Jeff. Set aside some time. He will have thoughts.

Four project options are offered here, and they differ mainly in where the work starts. A sliding door for an opening that has never had one. A change to a door that is already there, including a swinging door you want to slide instead. The visible hardware on its own. Or an existing door that no longer moves the way it should.

Most projects arrive as one of the four and get named properly in conversation. A replacement can turn out to be a hardware question. An adjustment can turn out to be a clearance problem in the wall above the trim. Jeff will usually know which before he has finished walking up the driveway.

What sits inside each option, including supply, fitting, and finishing, is confirmed with Jeff. Start with the opening and what you want to change, and the right heading usually becomes clear.
Clearances & fit

What to check before choosing a door.

A sliding barn door needs space to travel and a solid surface to hang from. Here are the four checks to make on your opening.

01

Opening, trim & overlap

Record the opening and the outside of the casing separately

Measure clear opening width at the top, middle, and bottom, and height at both sides from the finished floor. Record the outside casing dimensions and projection. Choose overlap and final slab size only after checking the selected door and hardware instructions.

02

Headroom & mounting height

Keep opening, casing, slab top, and rail datum distinct

Record floor-to-ceiling or lowest obstruction height and floor-to-top-of-casing height. Hardware instructions specify their own reference point for roller clearance and rail mounting height. There is no universal six-inch requirement.

03

Travel & obstructions

Measure the full travel path on the intended side

Measure available wall run and note switches, handles, baseboard, outlets, furniture, corners, and the opposite face of the opening. Check full opening and closing travel against the chosen rail, stops, soft-close equipment, and guide geometry.

04

Floor & bottom guide

Check the highest finished-floor point along the entire travel

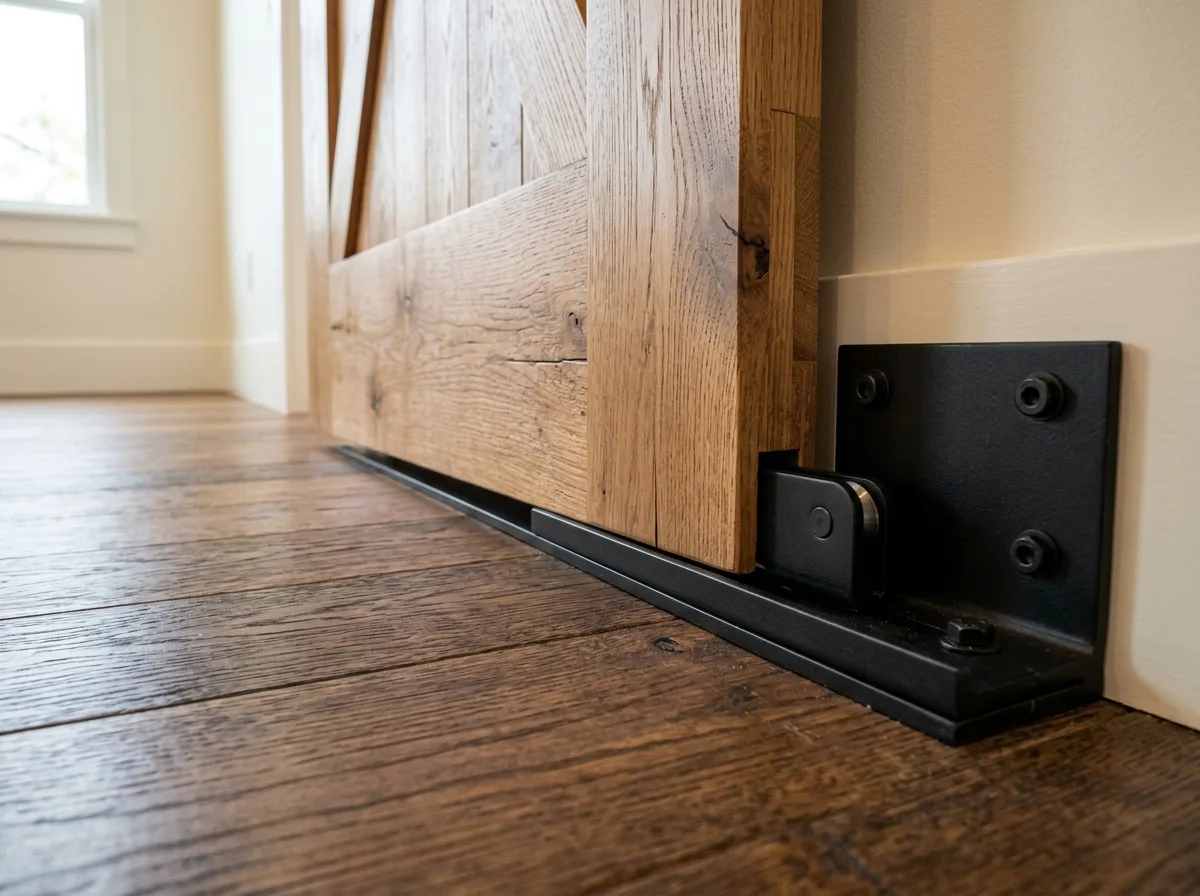
Record floor variation and rugs or future flooring. Required floor gap and guide engagement come from the selected system. Some guides need a routed groove; others do not. Confirm the approved guide and mounting method before altering the slab or floor.

Use the instructions for your exact model. Examples of manufacturer references: Rustica installation instructions · Johnson Hardware 2610F product specifications.

Not sure if your opening has the clearance?

Snap a photo showing the doorway and the entire wall next to it. Include it when you message Jeff and he can check the layout. He will have already looked at it twice.

Open the door survey

Jeff is ready

Ready to introduce Jeff to your doorway?

Preview: Jeff has not finished reviewing this site, and he has notes. The images are AI-generated, not Jeff’s work. His contact details are unset, so the message builder cannot send anything. He is working on it.

Message